Screen Recording vs Hands-Free POV Capture: A UK Guide
Desktop screen recording suits tutorials and video calls—but when the thing worth filming is what your hands are doing, smart glasses beat OBS. This UK guide covers both workflows and when the AIGLAS V1 (up to 90 minutes of 1080p POV) is the better tool for creators.
What Is Screen Recording and Why Bother?
Screen recording captures your monitor—ideal for software demos. For unboxings, craft tutorials, dog walks and city-walk content, wearable POV smart glasses record your real-world view hands-free for up to 90 minutes without holding a phone.
Screen recording captures everything happening on your display as a video file. Simple as that. If you've ever needed to show a colleague how to use software, document a bug, or save a live webinar, you already know why screen recording matters.
With hybrid working now routine across the UK, screen recordings aren't just for YouTubers anymore. A quick walkthrough clip often replaces a meeting — they've become a daily communication tool.
Built-In Tools for Screen Capture: Windows, Mac, and Chromebook
You don't need to download anything to start. Every major operating system ships with a screen capture tool already installed.
Windows 10 & 11: Xbox Game Bar
Press Win + G to open the Game Bar. Hit the record button or use Win + Alt + R to start immediately. Maximum recording length is 4 hours. Output format is MP4 at up to 1080p/60fps.
It's decent for quick captures. That said, it won't record your desktop or File Explorer — only application windows. Bit annoying if you need to show someone how to organise files.
Windows 11: Snipping Tool
Microsoft added video capture to the Snipping Tool in 2023. Open Snipping Tool and choose Record (or press Win + Shift + R on updated builds), then draw your capture area. No watermark. Brilliant for partial-screen recordings.
macOS: Screenshot Toolbar
Press Cmd + Shift + 5. Choose "Record Entire Screen" or "Record Selected Portion." Files save as MOV. Quality tops out at your display's native resolution — so on a Retina MacBook, that's up to 2560×1600.
Chromebook: Built-In Screen Capture
Press Ctrl + Shift + Overview key. Select your recording area. Files save as WEBM format to your Downloads folder. Maximum resolution matches your display (typically 1920×1080 on most Chromebooks).
Online Screen Recorders — No Install Needed
Browser-based tools let you record your screen without installing software. They're spot on for shared computers or locked-down work machines where you can't add programmes.
Reputable browser-based recorders run entirely in your browser, usually with no sign-up for short clips. You get options for full screen, specific window, or browser tab capture — plus simultaneous microphone and system audio recording.
So what's the catch with online tools? Most cap your recording length or resolution on free tiers, and some add watermarks. Check both limits before relying on one for anything you plan to publish.
Worth the extra spend on a desktop app? Depends on your use case. If you're recording 30-minute training sessions daily, probably yes. For 2-3 minute explainers? An online recorder handles it perfectly.
Step-by-Step: How to Record Your Screen in Under 2 Minutes
Here's the fastest method I've found, using a browser-based approach that works on any operating system.
Step 1: Open Your Recording Tool
Open your chosen recorder — the built-in OS tool or a browser-based one — in Chrome, Edge, or Firefox. Modern tools load in seconds on a standard broadband connection.
Step 2: Choose Your Capture Area
Select from three options:
- Entire Screen — captures everything, including taskbar and notifications
- Application Window — records a single programme window
- Browser Tab — captures only one tab (ideal for web app tutorials)
Step 3: Configure Audio
Toggle microphone on if you want voiceover narration. Enable system audio to capture sounds from the application you're recording. Test your input levels with your recorder's built-in meter first — ten seconds of checking saves a silent re-take.
Step 4: Hit Record
Click the red record button. A 3-second countdown gives you time to switch to the correct window. Your recording is now live.
Step 5: Stop and Save
Click the stop button in the floating toolbar (or press Ctrl + Shift + S on most tools). Your file downloads automatically as MP4 or WEBM. Typical file size: roughly 15-25 MB per minute at 1080p.
Getting Audio Right When You Record Your Screen
Bad audio ruins an otherwise perfect screen capture. A training video nobody can hear over laptop-fan hum gets recorded twice — test before you start, not after you share.
Microphone vs System Audio
Microphone audio captures your voice through an external or built-in mic. System audio captures sounds playing on your computer — notification pings, video playback, application sounds.
For tutorials, you typically want both. For recording a video call, system audio alone usually suffices.
Quick Audio Checklist
- Test mic levels before recording (aim for -12dB to -6dB peak)
- Close unnecessary browser tabs — they can generate notification sounds
- Use a headset if you're in a noisy environment
- Record a 10-second test clip and play it back before your main recording
Honestly, an inexpensive USB headset from any high street electronics shop produces better audio than most laptops' built-in microphones. The Which? headset reviews have solid recommendations if you're unsure what to buy.
Screen Recording Tools Compared (2026)
Here's how the mainstream options stack up for everyday screen capture tasks.
| Tool | Platform | Max Resolution | Time Limit (Free) | Watermark | System Audio | Price (Paid Tier) |
|---|---|---|---|---|---|---|
| Browser-based recorders (typical) | Browser (all OS) | 1080p | Usually ~5 minutes | Varies | Yes | Free tiers; paid upgrades |
| Windows Game Bar | Windows 10/11 | 1080p 60fps | 4 hours | No | Yes | Free (built-in) |
| macOS Screenshot Toolbar | macOS | Native resolution | Unlimited | No | No (needs plugin) | Free (built-in) |
| OBS Studio | Windows/Mac/Linux | 4K 60fps | Unlimited | No | Yes | Free (open source) |
| Loom | Browser + Desktop | 4K | 5 minutes | Yes (branding) | Yes | Paid subscription tiers |
| Camtasia | Windows/Mac | 4K | 3-day trial | Yes (trial) | One-off paid licence |
For most people learning how to record their screen, a browser-based tool or the built-in OS option covers 90% of needs. OBS is powerful but has a steep learning curve for a first-time setup. Camtasia suits those who want editing built in, at a one-off licence cost.
Common Screen Recording Mistakes (and How to Avoid Them)
These are the mistakes that force re-recordings most often — and the habits that prevent them.
Close Notifications Before Recording
Nothing worse than a WhatsApp message popping up mid-recording. On Windows, enable Focus Assist. On Mac, turn on Do Not Disturb. Takes 5 seconds and saves you re-recording.
Plan Your Click Path
Before hitting record, mentally walk through what you're going to show. Viewers lose patience after about 15 seconds of aimless cursor movement. Planned recordings routinely come in at half the length of improvised ones.
Use Keyboard Shortcuts
Keyboard shortcuts look cleaner on screen than hunting through menus with your mouse. They also make recordings noticeably quicker. Write a sticky note with the 3-4 shortcuts you'll need and stick it on your monitor. (Yes, an actual sticky note. Old school works.)
Resolution Matters Less Than You Think
Recording at 1080p is fine for 95% of use cases. 4K files are 4x larger (roughly 80-100 MB per minute) and most viewers watch on phones or small laptop screens anyway. That said, if you're recording tiny text in a code editor, 4K does help. For general software walkthroughs? 1080p. Sorted.
File Management
Create a dedicated folder. Name files with the date and topic: 2026-01-15_routing-app-tutorial.mp4. You'll thank yourself in three months when you need to find that specific recording — a folder full of files called "Screen Recording 2025-xx-xx" helps nobody.
The HSE guidance on display screen equipment is also worth a read if you're spending extended periods recording — proper monitor positioning and break schedules apply just as much during recording sessions as regular computer work.
When Screen Recording Is the Wrong Tool: Filming What Your Hands Are Doing
Every tool above captures a monitor. But if you make unboxing videos, craft tutorials, cooking demos or dog-walk content, the thing worth filming is happening in front of you — and holding a phone means one hand is always missing from the demonstration, while a chest-mounted action camera films your chest height, not what you are actually looking at.
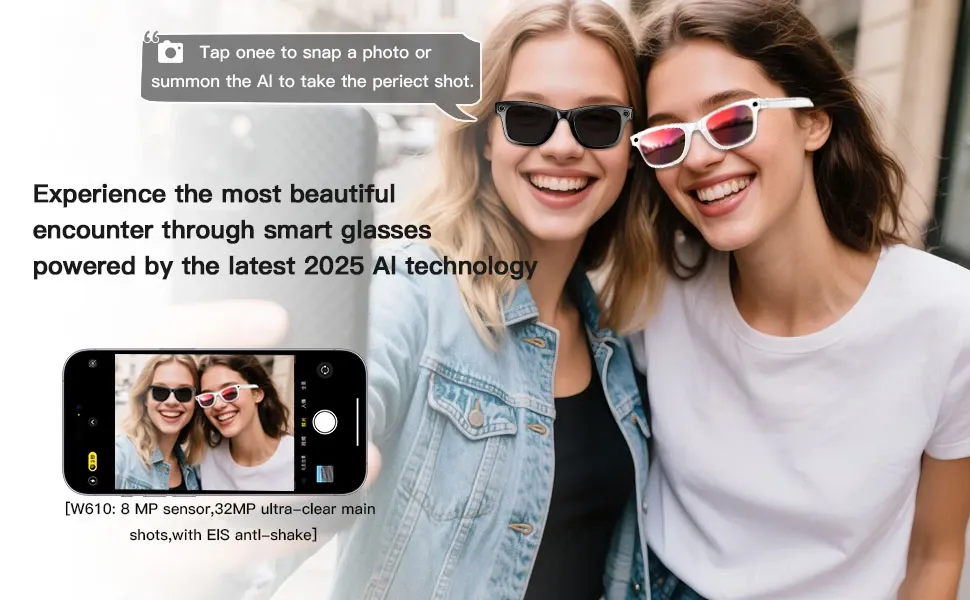
That is the gap wearable capture fills. The AIGLAS V1 smart glasses record up to 90 minutes of continuous 1080p from your actual eye line: press the temple to start filming, tap for an 8MP photo, and keep both hands in frame the whole time. The companion app includes a microphone test so you can check narration levels before a take, and finished clips transfer to your phone over local Wi-Fi — straight into the same mobile editing workflow you already use for screen captures. At 42g they also draw far less attention on a street shoot than a GoPro rig.
Same honest rule as desktop tools, though: wearable cameras have battery and storage limits, and filming people in public carries stricter expectations than filming your own desktop — see the FAQ below.
Key Takeaways
- Every major OS has a free built-in screen recorder — Windows (Game Bar + Snipping Tool), macOS (Cmd+Shift+5), and Chromebook (Ctrl+Shift+Overview).
- Browser-based tools require zero installation and work on locked-down work computers where you can't install software.
- 1080p recording at 15-25 MB per minute is sufficient for 95% of tutorial and documentation use cases.
- Test your audio before every recording session — bad sound is the number one reason people stop watching screen captures.
- Recording your screen takes under 2 minutes to learn with modern tools — the setup barrier has essentially disappeared in 2026.
- Name your files descriptively with dates to avoid the unnamed-recordings pile-up that hits everyone eventually.
- Close notifications and plan your click path before recording to keep videos short, professional, and re-take-free.
Capture life hands-free—not just your screen
AIGLAS V1 records 1080p POV video for up to 90 minutes · Free UK delivery
Shop AIGLAS V1 Smart Glasses — £124.50